The studio setup, part 1c
Using just standard spotlights or distant lights with raytraced shadows results in contrasty, hard shadowed look, both in real life (Spotlights and Sunlight) and in LW. Stills, film and video photographers use diffusors to soften lights. We don't have this ability (of actually having a diffusor in front of a spotlight, as in real life) in LW, but the results can be simulated with area lights. And even better with some other techniques as you will see...
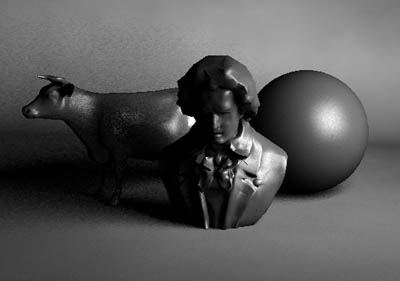
Here's our test scene again, this time with just one 55% intensity area light, and ambient at 0%. (Studio03.lws) Area lights are more intense than the regular LW lights, and setting the light to 55% gave about the same intensity results as a spot at 100%.

At first glimpse, it looks really natural. But the shadows are grainy. So are the highlights. No problemo, you say, let's crank up the anti-aliasing settings.
Well, without AA this scene rendered 1 min 53 seconds at my home p2 350 mHz. The shadow mapped spot rendered something like 15 seconds... and in order to really get rid of the artifacts, you would need enhanced high AA. No way!
But still, this is the look we are after. Darn!
Lets switch the light type to spot again. We will simulate the look of an area light with a single spotlight, cheesy, but you could get away with it sometimes.
First, let's look through our light, after turning it to a spotlight.
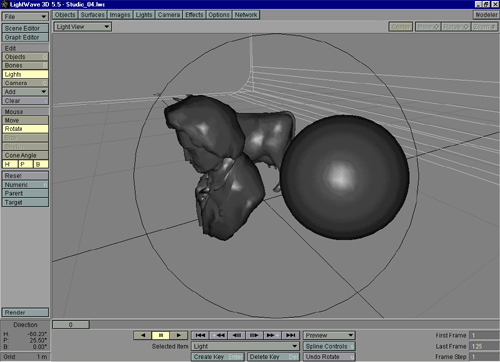
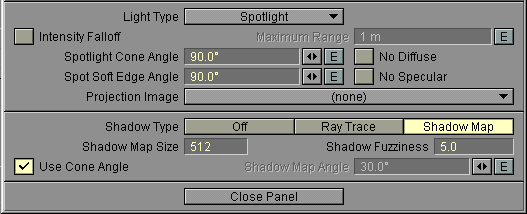
One of the first things one notices when looking at the area light image is that the light cone doesn't have sharp edges, it just kind of gracefully fades to darkness. In this grab, we see the circle showing us the cone edges of the spotlight, at default 30° cone angle, similar to the spotlight example we just did. Let's start manipulating the spotlight by widening the cone angle to 90°, and setting the soft edge angle to 90° too.
And test render:
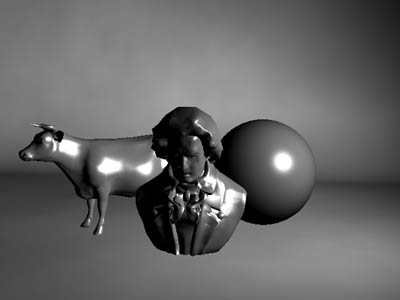
Well, the soft overall feeling is there again... and the render time is only 14 seconds. But our speculars don't look the same. And the shadows have magically disappeared!
NO GOOD! I WANT MY SHADOWS BACK! CHEATER!
Whoa, chill down, we are not finished yet.
In the lights panel, the "Use cone angle" checkbox is set to "yes" by default. In our case, the cone angle is 90°, and this is far too much to be accurately covered by an shadow map. If you remember the look we had through our spot earlier, you can see that our objects fitted quite nicely in the spot's default 30° cone. Luckily we can set our shadow map to that angle easily. Just uncheck the "Use cone angle" checkbox, and the shadows will be calculated for the specified angle only. The default for this is 30°, so we don't need to adjust it in this scene - a nice time saver ;-)
The shadow angle is shown as a box when you look through the spot, but as our spot is really wide, it's not seen unless you zoom in the cone angle again... here's an example (The cone angle in this image is something like 45°, and the shadow map angle is the default 30°):
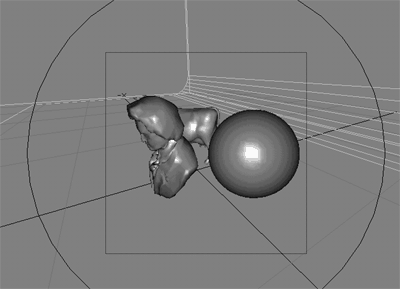
Remember to turn the cone angle back to 90° with 90° soft edges!
In addition to the missing shadows, the next thing that looks really diffrent is the highlights. Let's set the specularity of our surface to 50%, and the glossiness to low.
IMHO surfacing and lighting are not separate issues, but both affect each other, of which this is a good example ;-) A test render:
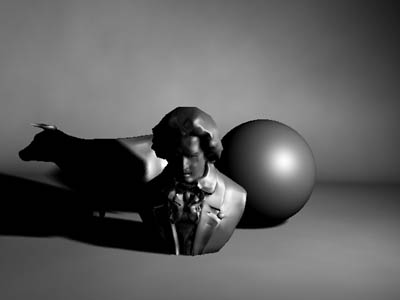
Well, huh, we got our shadows back. (I told you!) But they look too sharp. This is natural, as our light comes from one distinct point. There are ways to simulate the realistic way an area light casts it's shadows, we will discuss them later. But for now, we wish to have an quick and dirty approach to meet the deadlines, so we will just blur the shadow map a lot ;-)
So, set the shadow fuzziness to 50 (!!!whoa!!!)
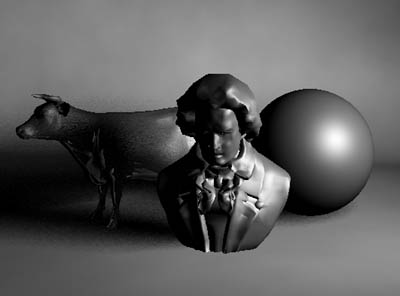
Compare this to the original Area light image:

Not that bad, regarding the render time, which is just 16 seconds compared to the area light's 1 min 53 s. (Both without AA)
When we blurred our shadows, we got some similar graininess to that of the Area lights, but as the render times are SO much faster, we can actually use anti-alias ;-) The bad side is, that our shadows are equally blurred regardless of the distance from the object. Compare Ludwig Van's shadow near the cow's foot in the two images to see what i mean.
But, if there's going to be anti-aliasing in our final render anyway, we could use the excellent D. Jerrard's Amazing Spinning Lights trick to really have the shadows look accurate. Or, if we don't want to use motion blur, light arrays. (This could be reasoneble for example if we have lots of ray traced reflections or refraction, and no fast motion in the scene)
The "Area spotlight" is included in the zip as
Studio04.lws

|
Product Info |
Ordering Info |
Support and Downloads |
Articles and Tutorials |
LightWave Mailing List Contest |
Mailing List Archives & Info |
LightWave Mailing List FAQ |
Other Interesting Web Sites |
