The studio setup, part 1e
Yes, we will paint the highlights to a reflection map.
Ok, we could just hand paint it in a paint app - but how would we know where to put our highlights?
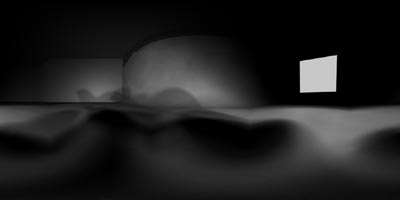
Yes, we will create an environmental reflection map for our scene.
Well, when doing the initial preparations for this tutorial, I came up with a solution. I created a scene pair, where you first render some reference images, and then warp them to an environmental map. I even gave it a cool product name: Refgen.
So, now is a good time to surf to my site and read some more details about the technique, and to download it *it's free* as we will need it to continue.
Go HERE
Waiting, waiting, waiting....
You're back? Allright! You know now, how to use refgen? Great!
So, when you have imported this scene (Studio05.lws) to refgen, just set the test object UNSEEN by camera, instead of dissolving it to 0%. This way we will have also the object's shadows included in our refmap. Also, remember to set the light diffusor SEEN by the camera! (You could also use lens flares to mark the light positions if you wish)
Then just continue to the second refgen scene, and render the warped map out.

Now load Studio05.lws again, and apply the ref map to the test surface, with 180° seam angle:
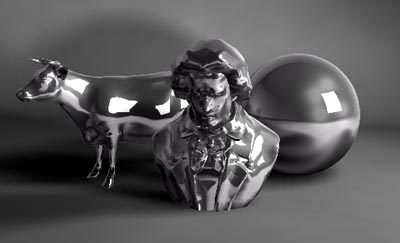
Notice, how it closely resembles the earlier, ray traced version of the reflective objects. Also, the "real" specular hot spots are not exactly matching the reflection.
What did you except for a freebie? ;-)
Well, it doesn't matter, let's get rid of them. Just turn specularity to zero.
(Again? Can't he decide? - As said earlier, surfacing and lighting work hand in hand. Sorry for the inconvinience ;-)
In Photoshop or a similar paint application, gaussian blur the reflection map:
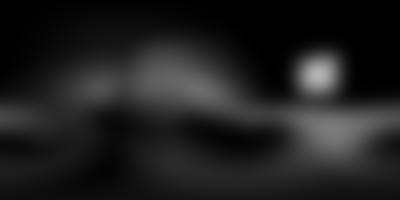
Do an image replace and test render:
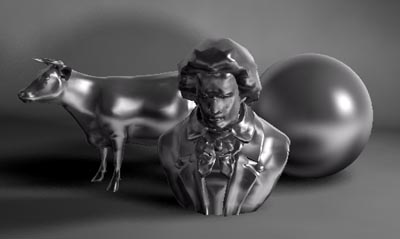
Cool aint it - we have learned how to create dull metal surfaces! Yeehaa! Great for aluminium parts!
But this is not why we created the map. We will still be looking for just shiny, not reflective surface.
Actually all glossy surfaces ARE also reflective, but it usually doesn't show noticeably in the final image.
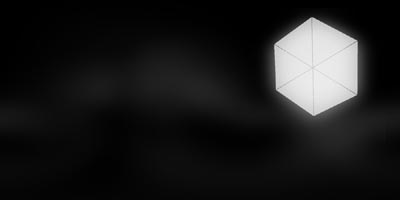
We will actually use the blurred map to fake caustics again. Let's darken the reflection map in the paint app. Then let's paint the umbrella light diffusor over it. (I just did a screen grab of array handle2 lwo, also included in the zip file, and added it to the refmap, with some glow)
The image below took 3 min 45 sec to render - with enhanced medium AA. So, it even includes DOF. The time could have been even faster using less AA and some wave filter, but that's another issue.
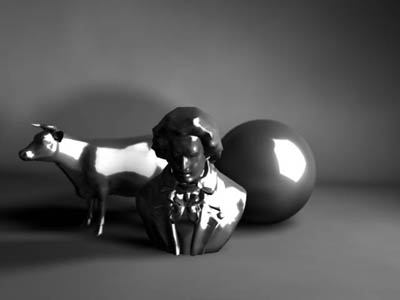
Notice how the blurred, dark reflection map resembles floor's radiosity. The umbrella needed some touching up, I reduced it's size a bit, strenghtened the rods.
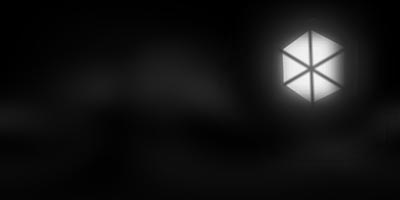
I also created the spin for the array once again and reduced the shadow fuzziness back to 5:
This scene is included as studio_06, and the surface is nr. 5!
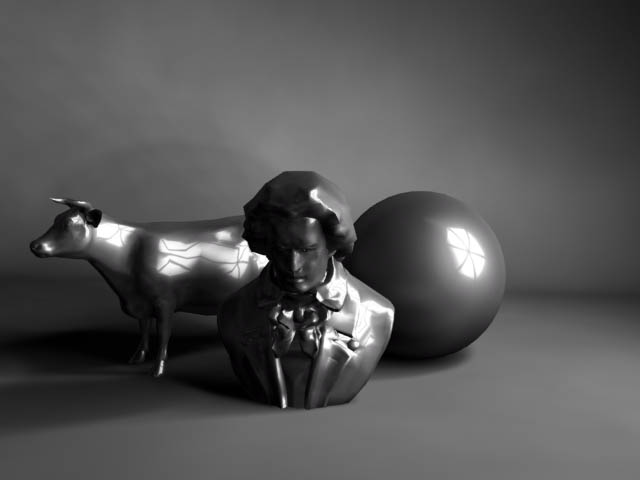
I think we are satisfied with this one for now.
There are some minor reflection artifacts in the cow object, but it's not
the surfacing / texturing method's fault, but rather lack of geometry.
Render time is acceptable 4 min 1 seconds with enhanced low AA and dithered
motion blur with my home p2 350 mHz... The small increase over the previous
version seems to be because of the motion blur: The shadow maps need to
be recalculated for each pass when motion blur is used. Good enough though!
So, this tutorial has come to an end. Class dismissed!
Uh - wait - i've got something more to add...
Remember this christmas ball? The specular highs are real LW speculars, but yours truly, reflecting from the ball is an reflection map. (I know i should have used my good camera in order to have some street credibility, but there was not too much room in my flatbed scanner for my hands, head and the small snappy ;-)

The refmap is here:
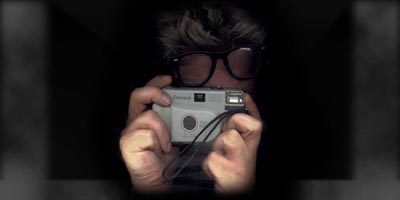
As you can see, it doesn't take much fiddling to recreate a semi-believeable christmas ball ;-)
In the next part of this tutorial we will try to incorporate rendered elements, including shiny ones, to real on location footage - the above was just a teaser for the future ;-)
Happy waving! Be careful out there!
If you have questions about this or other tutorials of mine (Or if you just wanna say hello!), feel free to E-mail me:
Any feedback is welcome. Also visit
my site! - http://www.kolumbus.fi/erkki.halkka/

|
Product Info |
Ordering Info |
Support and Downloads |
Articles and Tutorials |
LightWave Mailing List Contest |
Mailing List Archives & Info |
LightWave Mailing List FAQ |
Other Interesting Web Sites |
